How to improve MS Teams performance on Windows PC? (4 Proven ways!)
Follow our step-by-step guide to troubleshoot and improve MS Teams performance on your Windows PC.
So, if you’re experiencing any of these symptoms? Microsoft Teams very slow, Microsoft Teams lagging, Microsoft Teams takes a long time to load, then use the following procedure to improve the responsiveness of your Teams client App installed on your local Windows PC.
So how do you improve your MS Teams client performance on a Windows PC?
You need to disable GPU Hardware acceleration, disable all Teams add-ins in Outlook, and clear MS Teams cache. Follow steps suggested below to improve MS Teams performance on a Windows PC.
Improve your MS Teams performance issues
Do the following actions described below to solve the performance problems with Microsoft Teams?
Improve MS Teams performance – Disable GPU Hardware acceleration
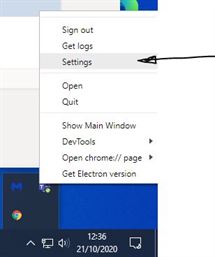
- In Teams Desktop App, left click your Profile photo or Icon
- then Click Settings.

- In Settings, in tab general, enable (Tick) “Disable GPU hardware acceleration “.
- Disable (Untick) “Register teams as the chat app for Office…“.
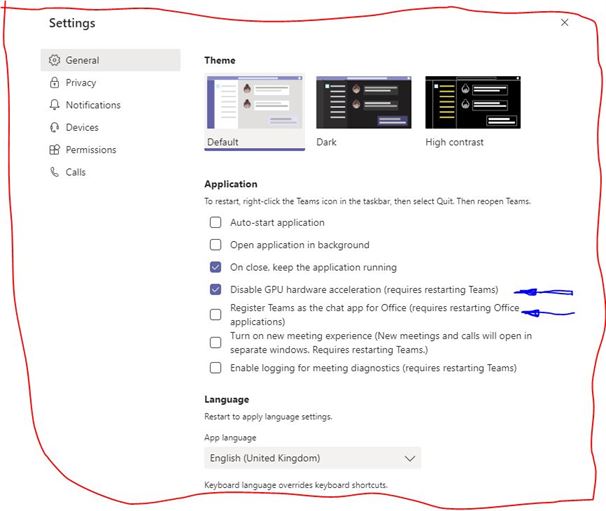
- Restart Teams. Please note that Teams runs in the background. You must close it from your system tray (near the clock at the bottom right).
Improve MS Teams performance – Disable all Teams add-ins in Outlook
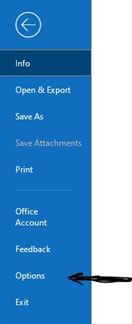
- In Outlook, click Options.
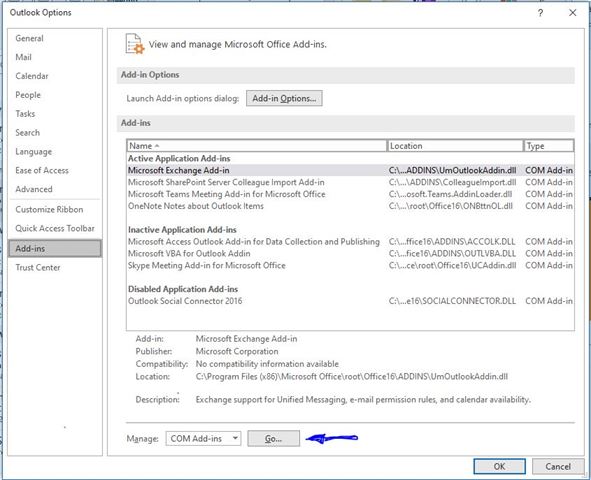
- In the Outlook Options window, click Addins.
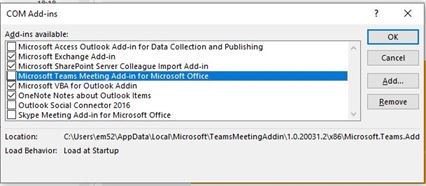
- At the bottom, click Go… (next to Manage: COM Add-ins).
How to clear Teams cache – Improve MS Teams performance

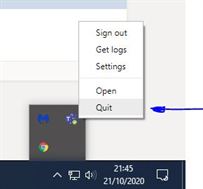
- Quit MS Teams desktop client app by right-clicking Teams Icon in System Tray or Task Bar and clicking Quit to stop Teams running.
- Next type ” %appdata%\Microsoft\teams ” without quotation marks in the search bar, bottom left, just to the right of the Windows Logo in Windows 10 as shown in the picture below.
- Press Enter to open Teams cache file location.

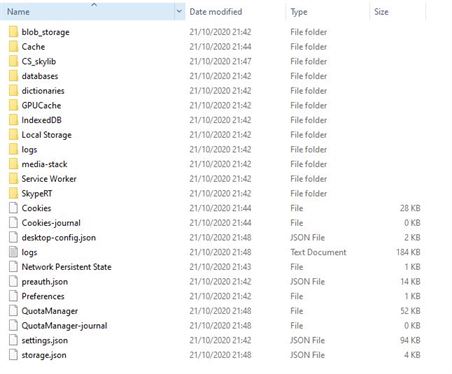
- When you open the Teams file location, you will see folders and files that make up Teams cache on the local drive as shown in the picture below.

- Press ” Ctrl + A ” to select everything in the Teams Cache directory
- Press the ” Delete Key ” to delete all selected files and folders. (You won’t lose any user data by clearing Teams cache files and folders)
- Then Re-Start MS Teams App – Be aware it may take slightly longer for Teams to fully be loaded as it needs to rebuild the cache files that MS Teams needs to provide fast responses to the user experience.
Microsoft Teams should perform much faster after completing the steps given above on your Teams Client Windows 10 PC.
Say YES to a new life of Secure Remote Collaboration with your Employees and Customers?
How do I clear ALL MS Teams cache on PC?
Steps to clear ALL MS Teams cache:
- Exit of the Microsoft Teams Desktop APP.
- Right click on the Teams icon in your system tray.
- Click Quit.
- Click on the Search Bar (File Explorer).
- Type the following location into the Windows 10 search field: ” %appdata%\Microsoft\Teams “
- Click on the best match %appdata%\Microsoft\teams folder.
- Ctrl A to select all files in the ” %appdata%\Microsoft\Teams ” sub-directory.
- Delete all files and folders in the ” %appdata%\Microsoft\Teams ” sub-directory.
After deleting ALL the MS Teams cache files and folders, your PC will be using the Teams client like it’s the very first time.
- Restart the Computer.
- Launch Microsoft Teams.
Notice how quick MS Teams loads up.
If you are aware of other ways to improve the performance of your Microsoft Teams Client, please let us know through comments below.
Related Posts:
- How to Set Up a Teams Meeting: Top Tips for Beginners and Experts
- Microsoft Teams Network Requirements
- How to Clear Cache in Windows 10
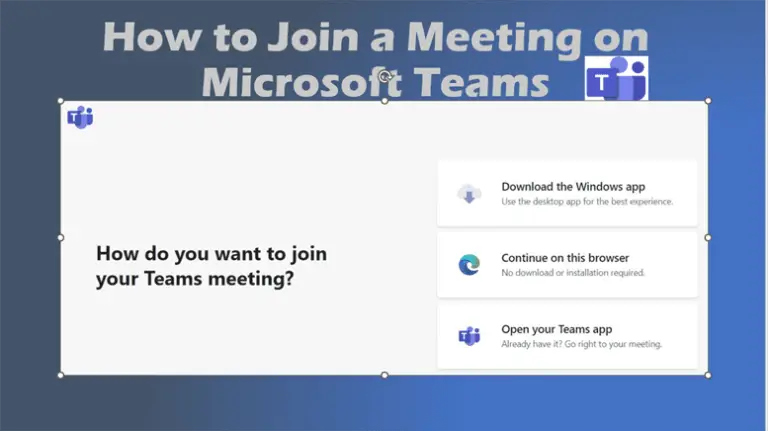
- How to Join a Meeting on Microsoft Teams Effortlessly!
- Microsoft 365 Business Premium vs E3 Office 365 Enterprise Comparison
- Microsoft 365 for Small Business UK
- Deleting Teams Cache (Files and folders)
- Microsoft Teams Log in
- What can my employer see on Microsoft Teams?
- Installing Microsoft Teams on laptop
- Microsoft Surface laptop: A Leap in Portable Computing