Finding Microsoft Teams Recordings Guide
Mastering how to handle recordings in Microsoft Teams can enhance your team’s collaboration and ensure that valuable insights and discussions are never lost. This detailed guide will escort you through the essential steps to access, manage, and understand the permissions associated with your Microsoft Teams meeting recordings. Whether you’re a student tackling group projects or a professional coordinating with a distributed team, knowing how to navigate and utilize these recordings is crucial for staying on top of your game.
Accessing Teams Recording
Title: Locating Your Microsoft Teams Meeting Recordings
Have you ever finished a Teams video call and wondered where the recording went? Here’s how to find your Microsoft Teams meeting recordings after your virtual gatherings.
Step 1: Understand the Basics
When a Teams meeting is recorded, the file is automatically saved to Microsoft Stream for Office 365 E1, E3, and E5 licenses. If other licenses are used, recordings are stored in OneDrive or SharePoint, depending on the meeting setup.
Step 2: Access Recordings via Chat
Right after the meeting, the easiest way to access your recording is through the meeting chat. Navigate to the chat window associated with the meeting. You’ll spot a link to the recording—click it to view or download.
Step 3: Check Your OneDrive or SharePoint
- For non-channel meetings, the recording will be in the “Recordings” folder in your OneDrive.
- For channel meetings, it’s in the “Recordings” folder in the SharePoint site associated with the channel.
To find it in OneDrive:
- Open OneDrive.
- Locate the “Recordings” folder in “My files.”
- Open the folder and select your recording.
To find it in SharePoint:
- Navigate to the team’s channel in Teams.
- Click on the “Files” tab.
- Select “Recordings.”
- Find and click on your recording.
Step 4: Share Your Recording
To share a recording from OneDrive or SharePoint:
- Click the “Share” button alongside the file.
- Choose your sharing options and permissions.
- Enter the email addresses of those you wish to share the recording with or copy the link provided.
That’s it! Your recording is now located and can be shared with ease. Always remember to double-check your organization’s privacy settings and consent for recording before sharing your videos with anyone outside your company.

Recording Permissions
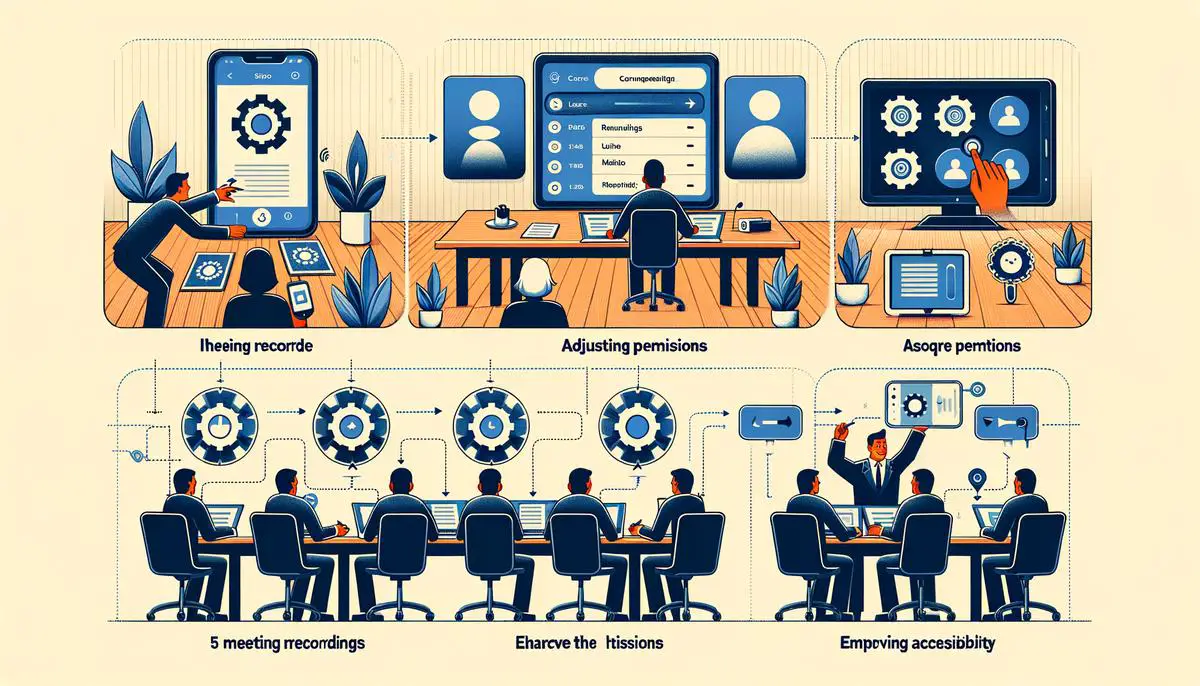
Step 5: Recognize Default Permissions
When a Microsoft Teams meeting is recorded, the permissions to view the recording depend on the meeting type. For meetings organized within a specific team channel, all members of that team automatically have viewing access. Non-channel meeting recordings are stored in the OneDrive of the person who started the recording and are accessible by default to all participants of that meeting.
Step 6: Know Role-Based Permissions
In Microsoft Teams, the level of access an individual has to view recordings can also be influenced by their role:
- Meeting Organizers and Owners: They can always view and manage permissions for the recording.
- Attendees: Have view access if granted by the organizer or recording starter.
- Guests: May view the recording if the appropriate share link is provided to them.
- External Users: It’s essential to share the recording explicitly with any user outside your organization to grant them access.
Step 7: Modify Permissions as Needed
Adjusting who can view a recording is straightforward. Find the recording in your OneDrive or SharePoint, right-click on the file, and select “Share.” From there, you can specify individuals or groups to add or remove permissions. You can even set links to be accessible to anyone with the link, which includes people outside your organization.
Step 8: Communication Is Key
When sharing recording permissions, always communicate with the relevant parties. Notify individuals when you grant them access, or conversely, inform them if you revoke access previously granted. Effective communication ensures everyone is aware of their accessibility status regarding the recorded content.
Remember: Changes to permissions can take a little time to come into effect, so it’s wise to modify access well in advance of when the recording needs to be viewed.
Managing Recordings
Step 5: Managing Your Recordings
After a Microsoft Teams meeting concludes and your recording is safely stored in OneDrive or SharePoint, it’s time to organize. Create folders within these platforms to categorize recordings by project, department, or topic. This makes locating them later straightforward for you and your team.
For non-channel meetings, navigate to the “My Files” section in OneDrive. For channel meetings, visit the designated SharePoint folder. Here’s how:
- Open OneDrive or SharePoint.
- Select ‘New’ and then choose ‘Folder’.
- Name the folder relevantly and hit ‘Create’.
Step 6: Sharing Recordings with Specific People
Perhaps you want to share a recording with someone who didn’t attend the meeting. Not a problem. Both OneDrive and SharePoint empower you to share individual recordings. Follow these steps:
- Locate the recording file.
- Click the three dots (…) next to the file name for more options.
- Select ‘Share’.
- Enter the email address of the person you want to share with.
- Decide if they can edit or just view the file.
- Click ‘Send’ to dispatch the invite.
Step 7: Downloading Recordings for External Sharing
Sometimes, you may need to share your meeting outside of Microsoft Teams or even outside of your organization. Download the recording to distribute it through other means:
- Access OneDrive or SharePoint.
- Click on the recording file.
- Choose ‘Download’ from the top menu.
Once it’s on your device, you can attach it to an email, upload it to another service, or transfer it via USB drive as needed.
Step 8: Delete Old or Unnecessary Recordings
Good digital hygiene includes deleting old recordings that are no longer needed. It not only saves space but also minimizes data clutter.
- Find the recording you wish to remove.
- Click the three dots (…) next to the file.
- Select ‘Delete’.
- Confirm the deletion.
In the event of accidental deletion, don’t panic—deleted items go to the Recycle Bin first, where you can still recover them within a set period.
By following these essential practices, you can expertly manage and share your Microsoft Teams meeting recordings with finesse and security. Remember that regular maintenance, like cleaning up outdated files and organizing new ones, can significantly enhance your workflow efficiency. As you grow familiar with the process, you’ll streamline your management skills, ensuring all recordings are right where they need to be and accessible to whom they should be.

Efficiently managing your Microsoft Teams recordings can transform the way your team communicates and retains information. With the ability to navigate to recordings, understand who can access them, and manage the content effectively, you’re now equipped to leverage the full potential of Microsoft Teams as a powerful collaborative tool. Remember to handle your recordings with care, respecting privacy and consent, and use the shared knowledge to drive your group’s success forward.