Fix Teams Camera Issues
As we navigate the increasingly digital landscape of today’s workplace, many of us have become reliant on tools like Microsoft Teams to stay connected and productive. However, technology can sometimes let us down at the most inopportune moments, such as encountering issues with our camera during an important video call. Understanding how to troubleshoot and fix a camera that’s not working on Microsoft Teams is essential knowledge for anyone looking to maintain seamless communication. Whether you’re dealing with an external device or a built-in camera, there’s a series of steps you can take to address the issue, from checking physical connections to updating necessary drivers and configuring your settings within Teams itself.
Checking Physical Connections
Is Your Camera Properly Connected to Your Computer? Here’s How to Ensure Seamless Connectivity
In the realm of digital endeavors, a consistent, secure, and effective connection between your camera and computer is paramount. Whether you’re a content creator, a professional photographer, or an avid vlogger, the seamless transfer of visual data stands as a bedrock for efficiency. Let’s cut to the chase and establish the protocols to verify that your camera is properly connected to your computer.
Step 1: Check Your Ports and Cables
First things first, assess your hardware. Inspect the USB cable for any signs of damage. Even the smallest fray or kink can disrupt connectivity. Make sure that the cable is compatible with both your camera and your computer. USB-C, Micro USB, and Mini USB are common formats—ensure you’re matching like with like.
Once the integrity of the cable is verified, plug it into your computer’s USB port. A snug fit is crucial. Loose connections can lead to intermittent connection issues. If your computer is equipped with multiple USB ports, try each one. Some ports may offer different transfer speeds or levels of power delivery.
Step 2: Enable the Camera
With physical connections secure, it’s time to power up the camera. For the device to be recognized, ensure it’s turned on and set to the correct mode—many cameras require setting the mode to “Playback” or “Transfer” rather than the shooting mode. Ignore this, and your camera might as well be a paperweight to your computer.
Step 3: Install Required Drivers or Software
Operating systems often install necessary drivers automatically when a new device is connected. However, if your camera comes with specific software or drivers, make sure these are installed correctly. Running outdated software is like trying to read a map for the wrong city—utterly pointless. Visit the camera manufacturer’s website to download the latest versions.
Step 4: Confirm Recognition by Your Computer
Once connected, your computer should acknowledge the new device with a notification or sound. If you’re using a Windows PC, open “This PC” and look for the camera listed under “Devices and Drives.” On a Mac, open “Finder” to see if the camera appears under “Devices.”
If the device isn’t listed, access “Device Manager” on Windows (search in the start menu) to see if the camera is recognized under the “Portable Devices” or “Universal Serial Bus controllers” sections. On a Mac, check “System Information” or “System Report.”
Step 5: Test File Transfer
The ultimate test of connectivity is a successful file transfer. Attempt to move files from your camera to your computer. If files transfer smoothly without interruption, rejoice in the digital handshake that has been firmly established.
Step 6: Troubleshoot If Necessary
No luck so far? It’s troubleshooting time. Explore common solutions like restarting your computer, trying a different cable, updating your operating system, or resetting the camera to factory settings.
Remember, patience is the companion of wisdom. Connectivity issues can be multifaceted, but a methodical approach often unveils a solution.
Final Thoughts
A camera that isn’t properly communicating with your computer can stall your workflow to a frustrating halt. By systematically checking your hardware, ensuring correct settings, and verifying software compatibility, you can swiftly transition from connection woes to creative flows. Forget crossing fingers and knocking on wood. Embrace these steps to guarantee your camera plays nice with your computer, and you’ll be transferring files with ease in no time.
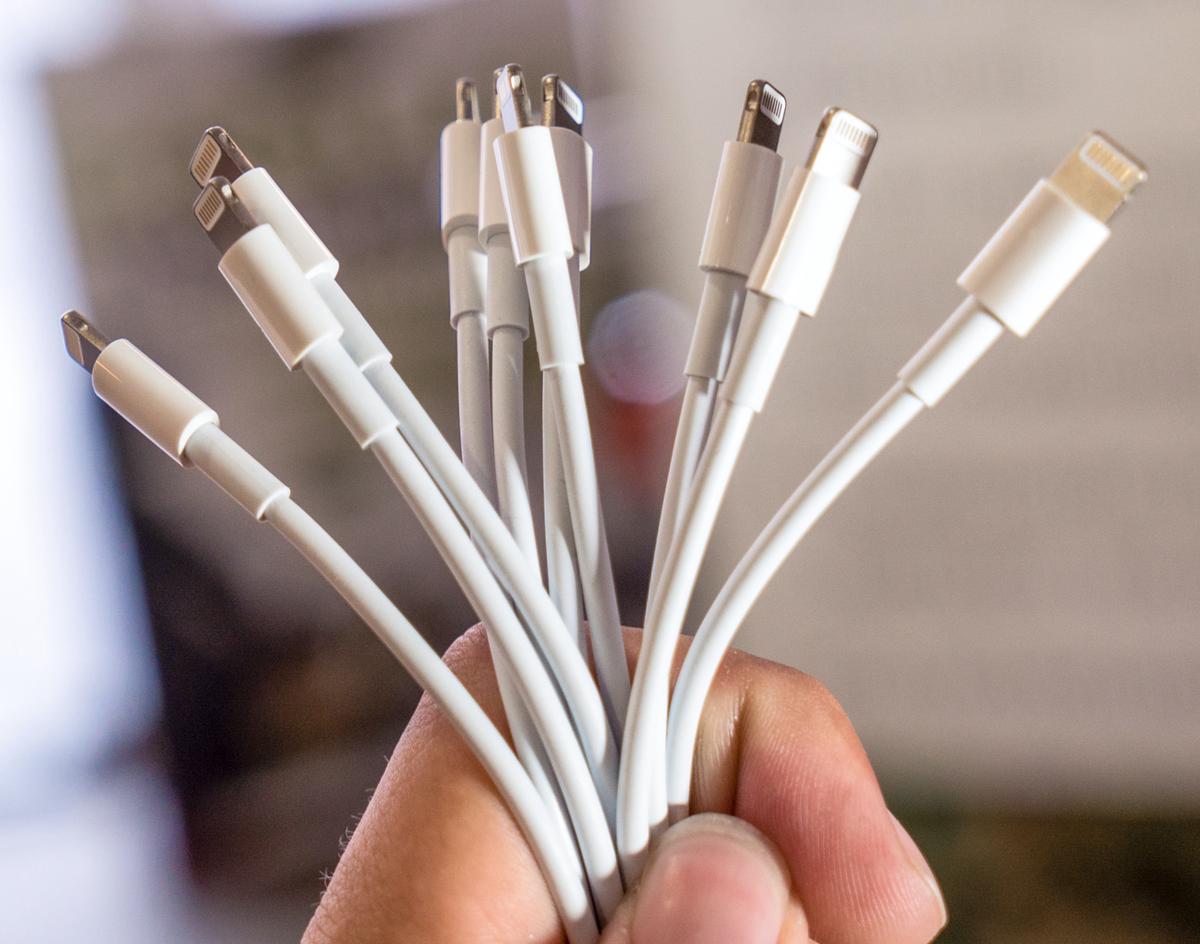
Photo by kommumikation on Unsplash
Updating Camera Drivers
Maintaining Up-to-Date Camera Drivers: A Necessity for Peak Performance
In a world where technology advances occur in the blink of an eye, ensuring that your devices operate at peak performance is essential. For photography enthusiasts and professionals alike, having a camera that communicates seamlessly with your computer is crucial. But once the basics of connection and recognition between your camera and your computer are established, what’s next? The answer is clear: driver updates.
Understanding Drivers and Performance
Think of drivers as the interpreters between your camera’s hardware and your computer’s operating system. They translate the complex language of your camera’s functions into a dialect that your computer can understand and respond to appropriately. Just like any language, it can evolve. When camera manufacturers improve their hardware or software, they release updated drivers to keep communication running smoothly.
The Importance of Regular Updates
Regularly updating camera drivers is akin to staying up-to-date with the latest vocabulary and grammatical rules in a language. It prevents miscommunication, errors, and, most importantly, ensures that new features and bug fixes enhance your camera’s performance. These updates can improve compatibility with new operating systems, provide support for higher resolutions and faster transfer rates, and can even prolong the life of your camera by preventing it from becoming obsolete.
How to Update Camera Drivers
To update camera drivers, one must know where to locate them. This information can generally be found on the camera manufacturer’s website under a section typically labeled ‘Support’ or ‘Downloads.’ Remember to match drivers to your camera model and the computer’s operating system version. It’s paramount to download the correct driver to avoid potential incompatibilities or performance issues.
After downloading the appropriate driver, execute the installer and follow the on-screen instructions. This usually involves a few clicks and possibly a system restart. For those who crave efficiency and ease, driver update software can be utilized to automate this process. These programs can scan for outdated drivers, download the latest versions, and install them without the user’s constant supervision. Keep an eye on credible software options to avoid the pitfalls of bloatware or malware.
Overlooking the Update Notification? Think Again!
It’s tempting to ignore those pesky update notifications that pop up at the least convenient times. However, failing to update drivers can result in suboptimal camera performance, data transfer failures, or, worse, security vulnerabilities. In the tech realm, complacency is the enemy of progress. Embrace updates as a means to maintain your technological edge and ensure your gear operates as intended.
Conclusion
To sum up, keeping camera drivers up-to-date is a quintessential part of maintaining optimal performance in the photographic workflow. It ensures that both hardware and software are in sync, bolstering functionality and securing the longevity of your equipment. Stay vigilant with updates, and your camera will continue to capture the world in all its detail and color, effortlessly interfacing with your technology ecosystem.
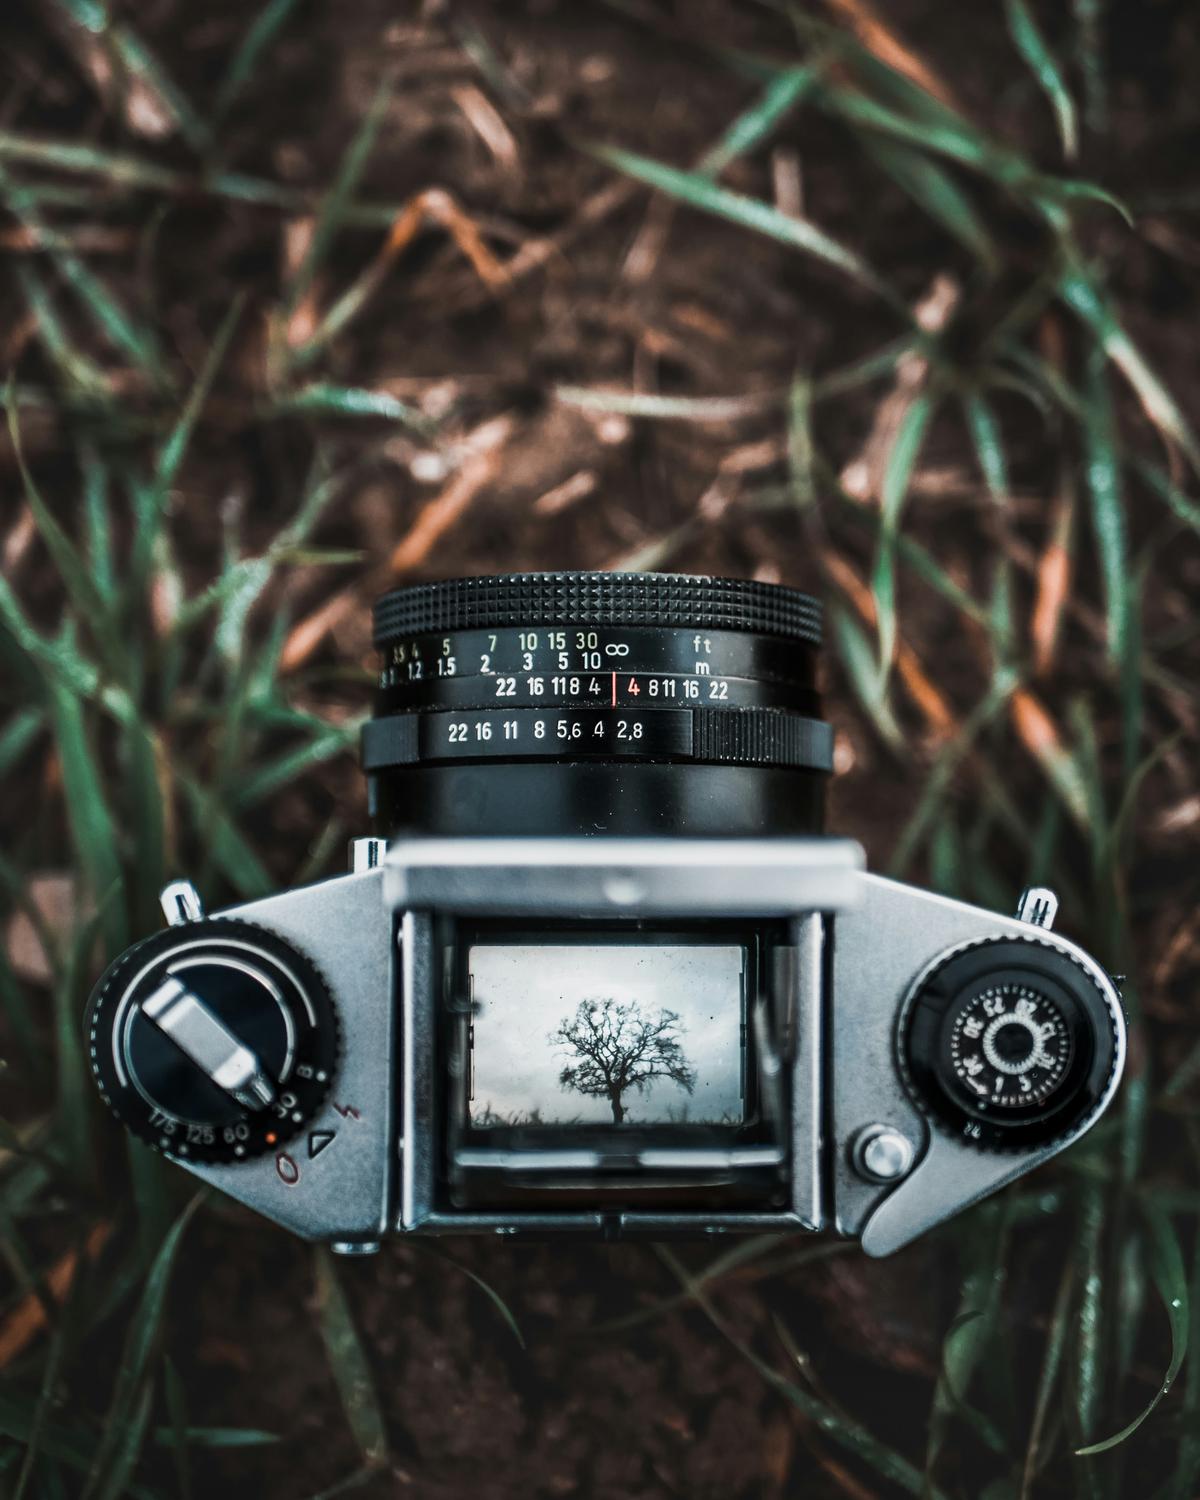
Photo by juliusdrost on Unsplash
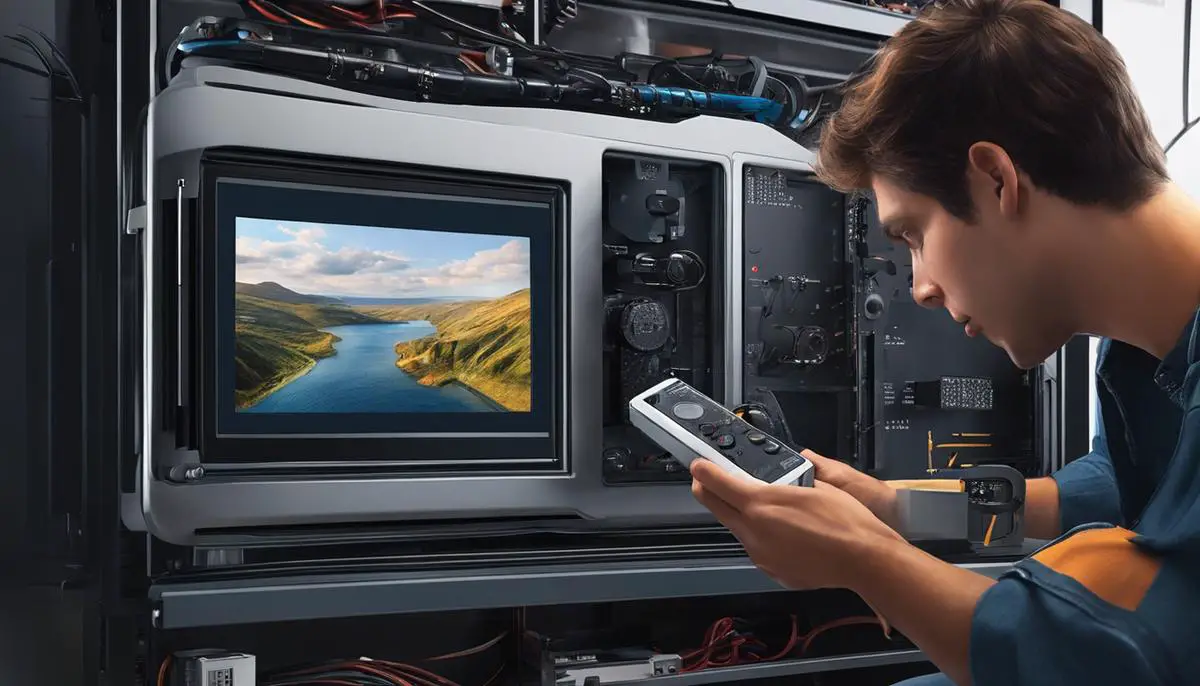
Configuring Teams Camera Settings
Configuring Microsoft Teams to Recognize Your Camera: The Final Steps
Once you’ve ascertained that your camera is up and running with the latest drivers installed and the computer acknowledging its presence, it’s time to ensure Microsoft Teams, a staple for seamless remote collaboration and communication, syncs perfectly with your camera.
First, launch Microsoft Teams. If it’s your first time using the app, you’ll be prompted to allow Teams to use your camera and microphone. If you missed this step or clicked “No,” head over to the settings wheel. Under “Devices,” you should find your camera listed in the “Camera” dropdown menu. If it’s not there, that’s a red flag; Microsoft Teams isn’t recognizing your hardware.
Don’t panic. Instead, check that another application isn’t holding your camera hostage. Close any app that could be using your camera – web browsers, other conferencing software, even your camera app. Give Teams your undivided camera attention.
If the issue persists, ensure you’re not inadvertently blocking camera access at the operating system level. On Windows, hit the Start menu and go to “Privacy settings.” Click on “Camera” under “App permissions” and toggle on “Allow apps to access your camera.” Verify the setting is enabled specifically for “Microsoft Teams” as well.
Still no luck? Sometimes, a full restart of Teams is what it takes to kickstart recognition. Completely close out of Teams – check your system tray to make sure it’s not lurking there – and reopen it.
If you’re in business and Teams proudly displays your camera feed, run a test call. Look for the “Meet Now” button under the Calendar tab on the left sidebar or create a new meeting. This functionality isn’t just for show-and-tell with your colleagues; it’s essential to know that when it’s go-time for an actual meeting, your technology won’t leave you in the lurch.
In case your camera is as unresponsive as a cat napping in the sunshine, your last resort is the power of the reinstall. Uninstall Teams, reboot your system (because why not give it a fresh start?), and download the latest version of Teams from the official website.
Now, the camera isn’t just a peripheral; it’s your gateway to professional presence in a digital workspace. By ensuring Microsoft Teams recognizes your camera, you’re not just ticking off a task from your tech to-do list; you’re optimizing the remote collaboration experience.
Whether you’re advancing your career from the home office or dialing in from the other side of the globe, remember this: regular checks and maintenance of both hardware and software are not just good practice; they’re the oil that keeps the smooth-running engine of today’s tech-centric workflow humming.

Being adept at quickly resolving camera issues in Microsoft Teams is an invaluable skill in today’s virtual environment. By ensuring you have covered the basics, like making certain that your camera is properly connected and that its drivers are up-to-date, you’re setting yourself up for success. Delving into the specific camera settings within Teams also reminds us that often, solutions are just a few clicks away. With the right knowledge and a bit of patience, you can overcome most technical obstacles and keep your focus on what truly matters—staying connected and productive in your professional endeavors.