Reset Your Dell Laptop: The Easy Way
It’s imperative to be proficient at maintaining and managing our own digital devices in today’s technology-driven world. One such device that holds significance in our daily lives is the laptop, with Dell being a widely used brand worldwide. This essay outlines a comprehensive guide on resetting your Dell laptop that encompasses not just the actual reset process, but also the essential precursor – backing up your valuable data, and the fundamental follow-up tasks. It’s a common misconception that resetting a laptop is a challenging and complex task, but when armed with accurate and methodical instructions, it can be surprisingly straightforward.
Backing up Important Data
Backing Up Essential Files before Resetting your Dell Laptop: A Comprehensive Guide
In the age of digitization, data loss during system resets remains a real threat. As technology enthusiasts, we value the need to safeguard critical files before initiating a hardware reset for optimal device operation. This article provides a succinct guide on how to back up all essential files before resetting a Dell laptop.
First and foremost, identify the files that hold significant importance. These could range from work-related projects, study materials, photos, videos, to favorite music playlists. Once identified, choose a preferred backup method from an array of options available, such as external hard drives, USB flash drives, or cloud-based services.
If an external hard drive or USB flash drive is your pick, follow these steps.
- Connect your storage device to your Dell laptop.
- Open ‘File Explorer’—you can do this by pressing the Windows Key + E.
- Navigate to ‘This PC’ from the left-hand pane.
- Find the drive representing your external storage device.
- Copy the files you’ve identified as critical—press Ctrl + C after selecting your files, or right-click and select ‘Copy’.
- Navigate to your storage device and paste your copied files—press Ctrl + V or right-click and select ‘Paste’.
If you prefer a wired-free, cloud-based solution, there are several available. Google Drive, OneDrive, Dropbox, and iCloud are among an array of top-tier options. Here’s how to back up your files using Google Drive.
- Visit the Google Drive website and log in with your Google account.
- Click the ‘+ New’ button on the left panel.
- Choose the ‘File upload’ option.
- Navigate to your files, select the desired ones, and click ‘Open’.
- Your files will start uploading to your Google Drive.
Remember, cloud-based solutions require an internet connection, and upload times will rely heavily on your connection speed.
Backing up your data ensures your important files are safe, even when performing a comprehensive Dell laptop reset. After the reset, simply reconnect your external device or log into your cloud-based service to retrieve and reorganize your files into your refurbished system. Keeping essential files backed up can ensure data continuity and peak productivity, making this simple process a must for every tech enthusiast. But, as always, the choice of backup method should align with individual preferences regarding accessibility, convenience, and data security.
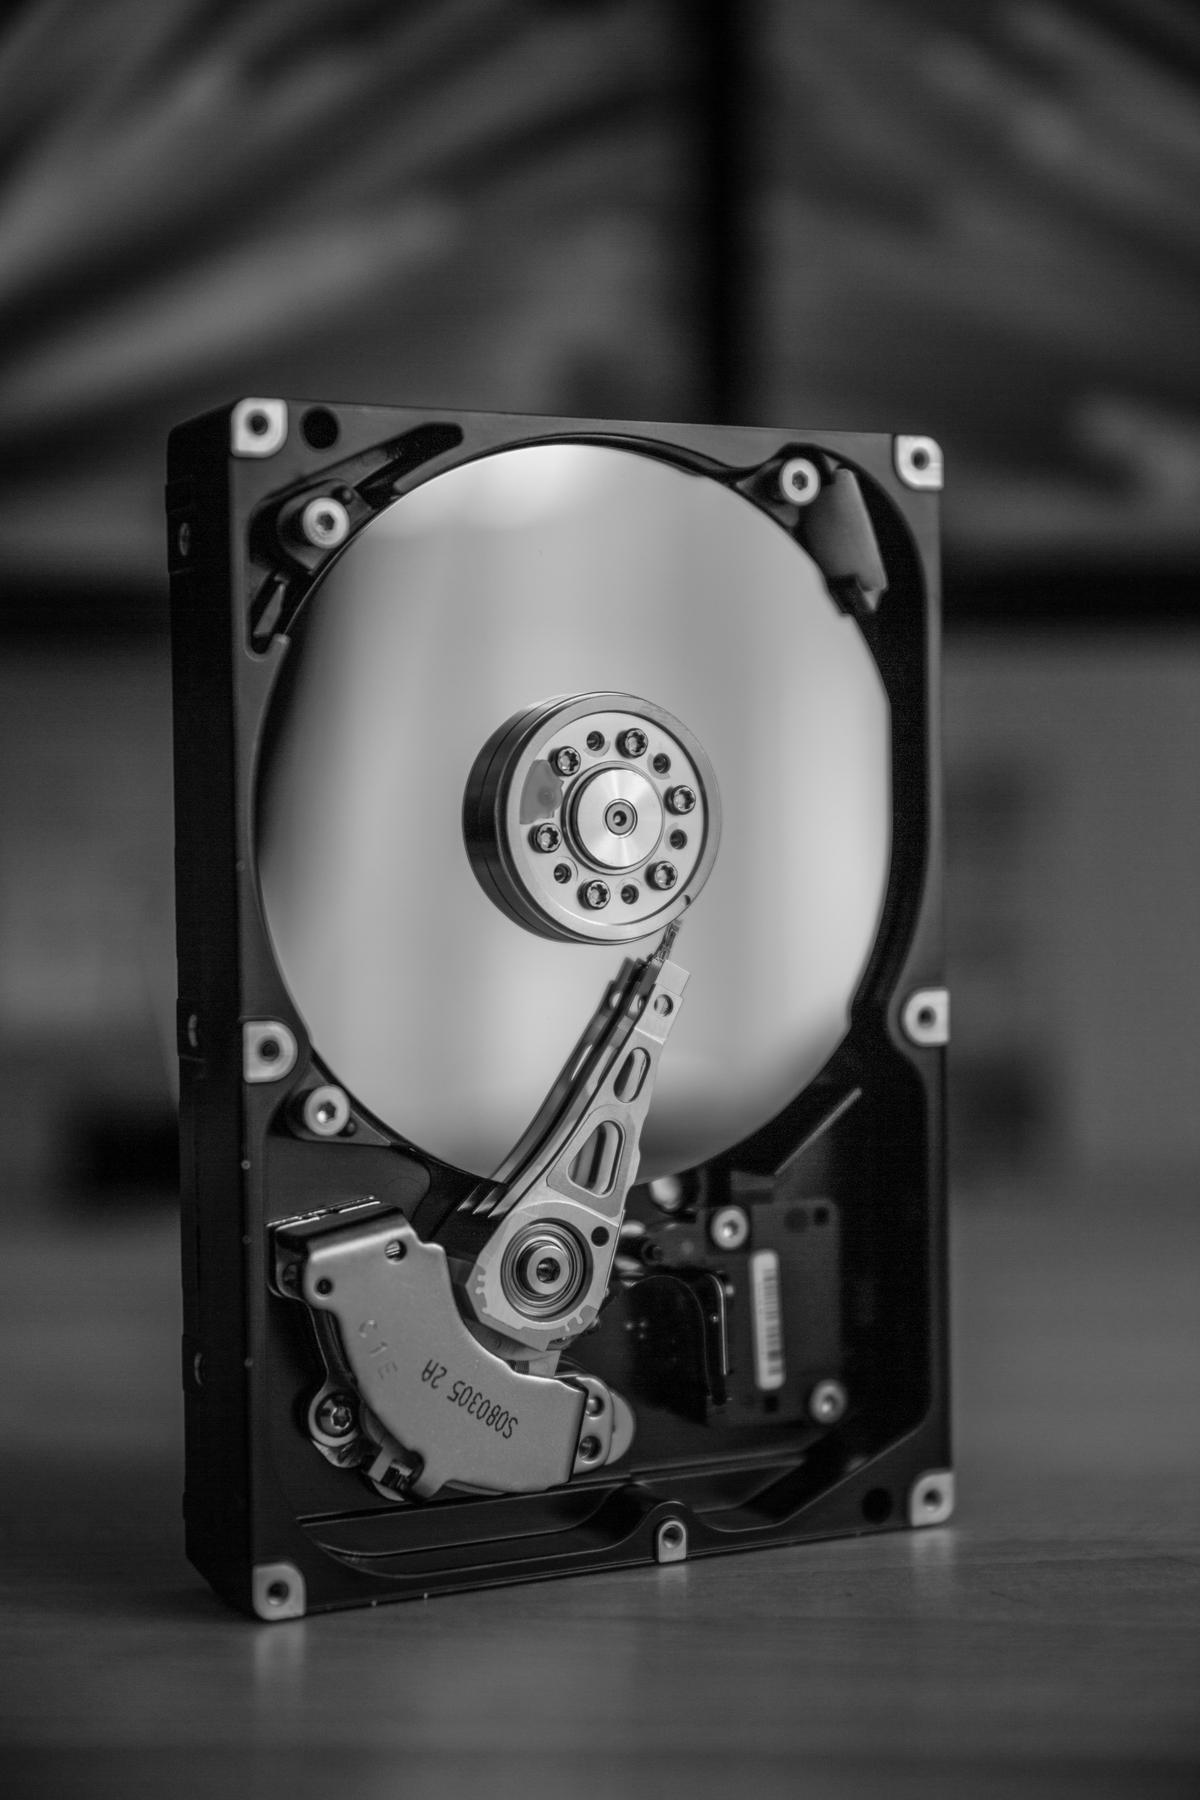
Photo by frank041985 on Unsplash
Resetting Process
Title: Navigating Additional Layers in Data Backup: Beyond the Basics
Swimming in the tech world often involves maintaining a healthy relationship with data, especially when it comes to safeguarding important files. While we’ve already dived into the foundational techniques of data backup and understanding their benefits, it’s worth navigating the extra layers to ensure you’ve got all angels covered.
Take a step further from simply identifying crucial files and deciding on your preferred backup method – It’s time to delve into mapping backups, encryption, and dealing with overly large files. Additionally, we’ll consider the impact of versioning and the importance of testing backups.
Mapping Your Backup
Apart from merely dragging files into your chosen backup utilities, creating a map of your backup gives you a clear picture of where everything goes and can drastically expedite the retrieval process post-reset. This can be as simple as maintaining a document outlining what files have been saved where, or as intricate as creating a full-blown diagram showcasing the system structure of your backup data.
Encrypted Backup
In an era where data breach incidents skyrocket, encryption brings an added layer of safety. It translates your data into a code to prevent unauthorized access, enforcing a wall of defense for your valued information. Implementing encryption on your backups isn’t just for top-secret agents anymore – it’s for everyone vested in data security, including you.
Dealing with Oversized Files
Massive files can become unwieldy, taking up unnecessary space and marring the otherwise smooth backup process. Compressing these oversized files can help mitigate these issues, making the files easier to manage and less cumbersome during both backup and retrieval.
Versioning: The Time Machine
Keeping different versions of a document serves as a time machine that allows you to step back to any point of a document’s life. Some cloud services like Google Drive automatically keep past versions, but for external drives, additional software may be required. With such a setup, any unintentional edit or deletion can be effortlessly corrected.
The Proof in the Backup
Backing up data is a fortress only as reliable as its last test. Regularly performing a trial run by restoring a set of files from your backup ensures it functions correctly and will stand up to the task when called upon.
Whether you’ve opted for an external hard drive, cloud-based storage, or the good old USB flash drive, these added measures can fortify your process. As tech enthusiasts, bolstering our routines with optimized functionalities and security should be top priority, ensuring that our relationship with data remains unscathed, regardless of what tech challenges come our way.

Post-Reset Setup
Encountering technology-related issues is inescapable. Thus, mastering the skill of rebuilding your digital workspace is essential, especially after performing a factory reset. Once you’ve identified, backed up, and retrieved your significant files, it’s necessary to dive into the following core areas to ensure a seamless transition and optimal operations for your Dell laptop post-reset.
-
Reinstallation of Software
Simply put, a reset erases everything, including all software. After recovering files, the next logical step is to reinstall all needed programs. Don’t unleash the downloading whirlwind right after the reset. Instead, strategically reinstall applications you frequently use first. Remember settings and preferences of custom configured software to return to the familiar workspace.
-
Driver Updates
Without the latest drivers, your laptop’s hardware components may function sub-optimally or fail outright. Ensuring that drivers are updated is imperative for the stable operation of the Dell laptop. Visit the Dell official website, access their support page, and download the recommended driver updates for your specific model.
-
Windows Update
The factory reset reverts your laptop to the version of Windows it came with. Upgrading the OS to the latest version is hence essential. Microsoft continually improves its operating systems, depending on user feedback and identified vulnerabilities. Make it a point to run Windows Update, setting it to automatic if possible.
-
Antivirus and Firewall Installation
Cyber threats are a bitter reality of the digital world. To safeguard personal and sensitive data, installing an antivirus software and ensuring the firewall is operational is a necessity. Other preventive measures could include enabling automatic scanning and keeping the antivirus definitions updated.
-
Privacy Settings
After reinstalling the software and ensuring the laptop is secure, revisit the privacy settings to make sure they align with your preferences. Again, with Windows 10, check under Settings -> Privacy and update your preferences accordingly.
-
Software Update
The last but equally crucial point is to ensure that all reinstalled software are updated. Current versions of software include the latest features, enhanced security, and fewer bugs.
Performing a factory reset on a Dell laptop can seem like a Herculean task, but it doesn’t have to be stressful. By taking the necessary steps outlined and focusing primarily on software and operating systems modernization, you can successfully mitigate lengthy disruptions and return your device to optimal productivity. Succeeding in these steps would mean that advancement in technology can indeed solve major problems without needing to resort to tedious manual efforts. It’s like giving your laptop a second wind – refreshed, renewed, and ready to conquer subsequent tech hurdles.

By mastering the procedure of resetting your Dell laptop back to its factory settings, you’ve gained a powerful tool you can use when your system experiences persistent troubles or it simply needs a fresh start. However, remember that the process doesn’t stop at just resetting. It’s equally essential to set up your laptop afterwards appropriately for an optimal user experience, including updating the operating system and reinstalling the required applications. With this newfound knowledge, you are now more prepared to take ownership and responsibility over your digital assets, ensuring their functionality and efficiency in the long term.