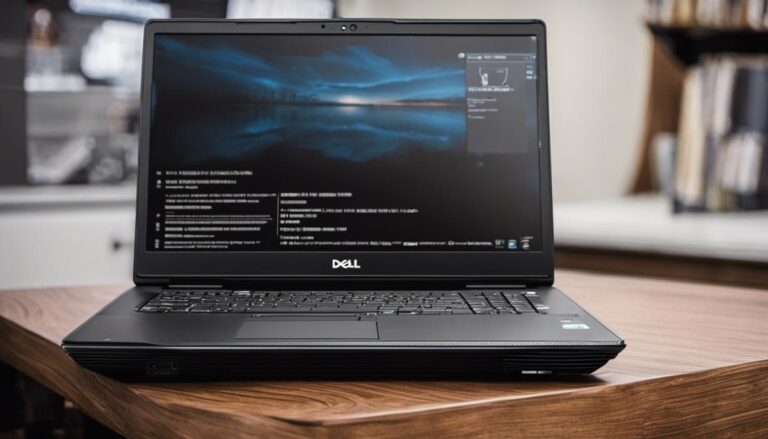
Effortless Guide to Replacing Your Dell Laptop Battery
In an era defined by digital technology, laptops, particularly those manufactured by Dell, have become an integral part of our lives. One key factor that defines the portability and usability of any laptop is its battery, which allows for operations without constant plugging into the power source. Having the knowledge to replace a Dell laptop battery not only increases its lifespan but also helps maintain its efficiency. This document aims to provide an in-depth guide on understanding the specific type and model of your Dell laptop battery, safely removing the old battery, and properly installing the new one.
Understanding the type of your Dell laptop battery
Unveiling the Battery Type for Your Dell Laptop
If you’re a techno-savvy individual who enjoys troubleshooting issues your technology might throw at you, or simply someone looking to replace your Dell laptop’s battery, this post is tailored accurately for you. We live in an era where technology is part and parcel of our everyday life, and getting to know and understand the gadgets you work with seems like second nature to anyone keen on efficiency and productivity. So, let’s cut to the chase and delve into ascertaining the type of battery that best fits your Dell laptop.
Step 1: Model Identification
The first task is to know the model of your Dell laptop. You can easily find this information on the bottom side of the device, or via the “System Information” panel. Simply access this by pressing the Windows Key and “R” together to bring up the Run command box, type in “msinfo32”, and hit Enter.
Step 2: Dell’s Official Support Page
Visit the official Dell support website next. This website is a resource trove that often gets overlooked. It provides not just basic information but specific details about the hardware components of your laptop, including precise battery types. Navigate to the ‘Product Support’ tab, enter the previously identified laptop model into the search bar and press ‘Enter’.
Step 3: Nitty-Gritty Details
Once you access the specific page of your laptop model, navigate to the ‘Manuals & documents’ section. Here you’ll typically find service manuals or documents that list out each integral part within your Dell laptop unit, including the battery.
Step 4: Find the Correct Battery Type
Within the manual, head to the specifications or battery sections, where you will find information about your laptop’s battery type. Most Dell laptops commonly use Lithium-ion (Li-ion) batteries, with varying capacity and cell counts, depending on the model. The battery section should outline the exact type your laptop uses.
Step 5: Acquisition
Once you have discovered the correct battery type, you can proceed to purchase it. For authenticity and optimal performance, it’s strongly recommended to buy from Dell’s official website or authorized dealers.
So there you have it, a direct, no-nonsense guide to ascertain the type of battery your Dell laptop requires. In this digital age, knowledge of our devices’ intricacies not only provides us with the ability to optimize our usage but also to ensure a longer lifespan and superior performance. Now, you’ve become one step closer to mastering your Dell laptop’s hardware nuances. Exciting, isn’t it?
Safely removing the old battery
“Unsheathe the Old Battery: A Walkthrough”
Once the correct battery type replacement has been acquired, it’s crucial to retire the old one efficiently. With Dell’s variety of laptop models, the battery removal process might slightly vary, but common principles apply.
Preparation, as always, is instrumental in undertaking complex tasks. Don’t plunge straight into the process. Ensure to power off the laptop completely and disconnect all peripherals – power cord, mouse, hard drives, and the rest. This is a crucial safety measure as it eliminates any risk of electric shocks or data loss.
Your workspace is another factor to consider. Choose a clean, well-lit area to lay your laptop down, with the bottom facing up. Avoid static-causing surfaces like carpets or rugs. To further mitigate the risk of static electric discharge, an anti-static wrist strap is recommended.
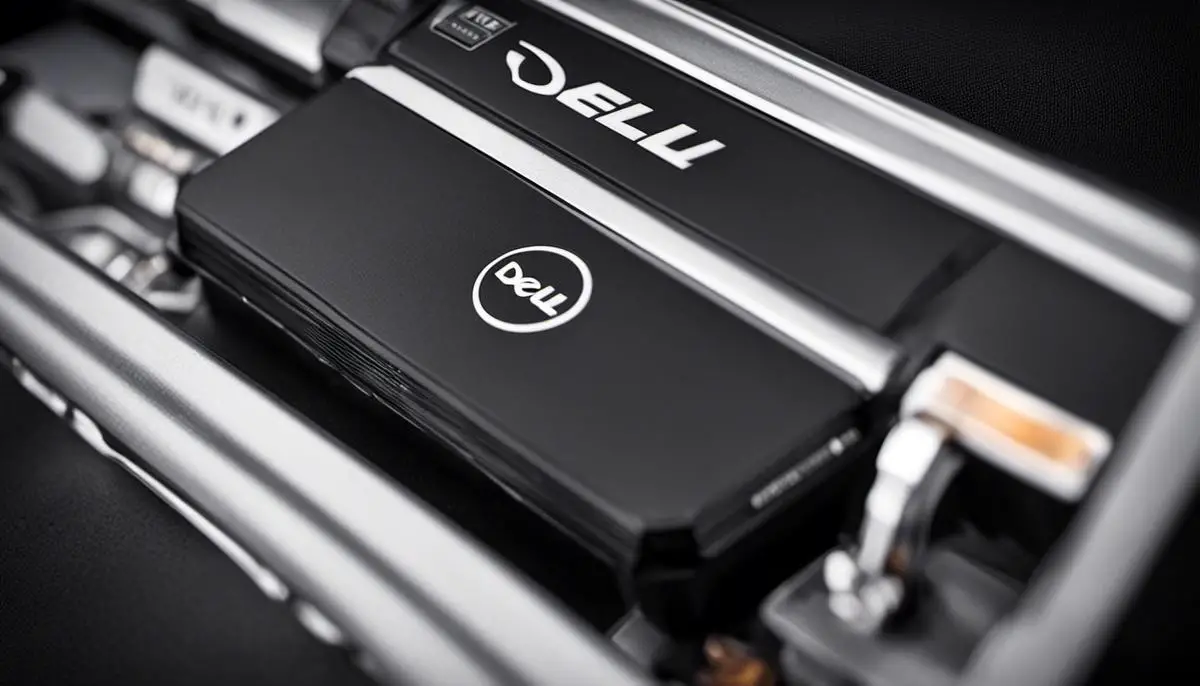
As you begin the process, find the area where the battery is lodged. Most, but not all, Dell laptops have the battery located at the rear. It’ll be the large rectangular component, typically locked in place by slide or screw mechanisms. Slide the latch or latches if present, push against the battery, and it should pop right out.
If security screws hold your battery, a right-sized screwdriver is required. Protective eyewear is wise because screw heads may fly out under tension. Efficiency is key: turning counterclockwise, fully remove each screw and place them safely for future use. Once all screws are removed, gently lift the corner of the battery and slide it out of its slot.
Once removed, immediately isolate the battery from any electrical item. Given their chemical composition, laptop batteries must be disposed of responsibly. Seek a qualified e-waste recycling facility.
Swapping out an old laptop battery for a new one might feel intimidating – but it isn’t. Equip yourself with a clear workspace, safety gear, and sound knowledge of your laptop model, and you’re good to go. Remember always to take precautions, handle your laptop with care, and follow environmentally friendly disposal practices for the old battery. Welcome to the battery-efficient performance and enhanced portability of your Dell laptop.

Properly installing the new battery
Let’s continue with the process of installing the new battery for your Dell laptop, which is just as pivotal as removing the old one. Once the old battery is safely removed, it’s time to proceed with the installation of the new one.
- Check the New Battery: Even if you have already checked your battery according to your Dell laptop model, it’s essential to cross-verify. Once you have the battery with you, inspect it thoroughly. Ensure there are no signs of damage or defects such as scratches, leaks, or bloating. If any such issues are noticed, it would be wise to get a replacement before proceeding.
- Align the Battery correctly: This is crucial to ensure that the battery fits in without any force. Layout and designs may vary among different laptop models, but they typically have a straightforward design. The battery connectors should align with the laptop’s socket.
- Gently Insert the New Battery: Handle the new battery with equal care as the old one. Gently slide it in. Avoid any form of jerky movement or excessive force which might run the risk of damaging the internal components.
- Secure the Battery: Most Dell laptops come with latches or screws that secure the battery tightly to prevent any mobility while on the go. If your laptop uses a latch mechanism, all you need to do is swing the latch back into its original position. However, if screws are involved, mobilize them back into their respective spots. It’s essential to use the right-sized screwdriver (typically a small Phillips head) as the wrong one can strip the heads off the screws.
- Double-check the Installation: Now that you’ve secured the new battery, it is recommended to check for any looseness or movement. If there’s any uncertainty, go back to the instructions and make sure the steps have been followed accurately.
- Reassemble the Laptop: Follow the same process when you removed the back cover to place it back. Ensure that there are no wires caught under the case and all parts align correctly before applying small screws or clips to secure it.
- Charge the New Battery: Now, the grand finale! Plugin your charger and let the new battery go through a full charge-discharge cycle before putting it to normal use. This helps calibrate your battery sensors and enhances the overall battery performance.
Successfully installing new batteries is a route to make your Dell laptop more reliable and efficient. It may seem a bit overwhelming at first, but once you know what you are working with, it becomes a straightforward yet satisfying job. By utilizing the mentioned guidelines, anyone can ensure a seamless battery replacement while also preserving the longevity of their Dell laptop. Enjoy the benefits of handling tech maintenance tasks like a pro, and elevate your tech-savvy persona a step higher.

As the document outlines, ensuring the longevity and optimal performance of your Dell laptop is not a Herculean task. With the comprehensive knowledge about your specific battery model, the ability to safely remove the old battery, and the skills to install a new one, anyone can enhance their laptop’s efficiency. By following the outlined procedures carefully, we can avoid unnecessary damage to our devices and enjoy a seamless digital experience. So go ahead and imbibe these practices to ensure that your Dell laptop remains an enduring and reliable technological companion.