Fixing Your Microsoft Teams Camera
In the ever-expanding realm of virtual workspaces, Microsoft Teams has emerged as the go-to tool for teams worldwide striving to maintain seamless communication and collaboration. However, as invaluable a resource it is, it is not immune to technical glitches. Perhaps the most common among these glitches are camera-related issues, which can disrupt or even halt a critical meeting. The purpose of this document is to empower you with the knowledge to navigate any such potential roadblocks. We will be delving into how to check and adjust your camera settings within the Microsoft Teams application, troubleshooting frequent camera issues, and learning the importance of updating the application.
Checking the Camera Settings
Adjusting Your Microsoft Teams Camera Settings: A Step-by-Step Guide
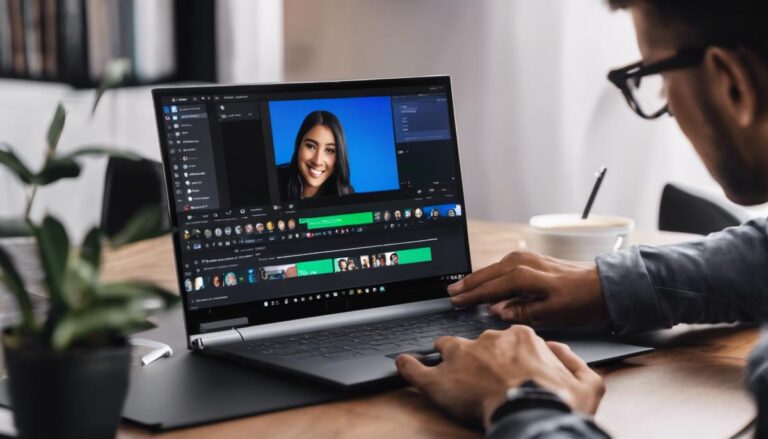
Microsoft Teams, a fundamental part of the evolving digital workplace, is engrained in the day-to-day operations of many organizations. It is crucial for users to present a professional image during video conferences, which is why understanding how to adjust the Microsoft Teams camera settings is essential.
Before getting started, ensure that Microsoft Teams is correctly installed and that the webcam is operational. These instructions will navigate you through the process of optimizing these settings before entering a call. Here’s the direct and efficient way to get this done.
Step 1: Accessing Camera Settings
Select your profile picture at the top of Teams, then choose ‘Settings’ from the dropdown menu. A dialogue box will open, click on ‘Devices’ found in the left-hand panel.
Step 2: Adjusting Camera Choice
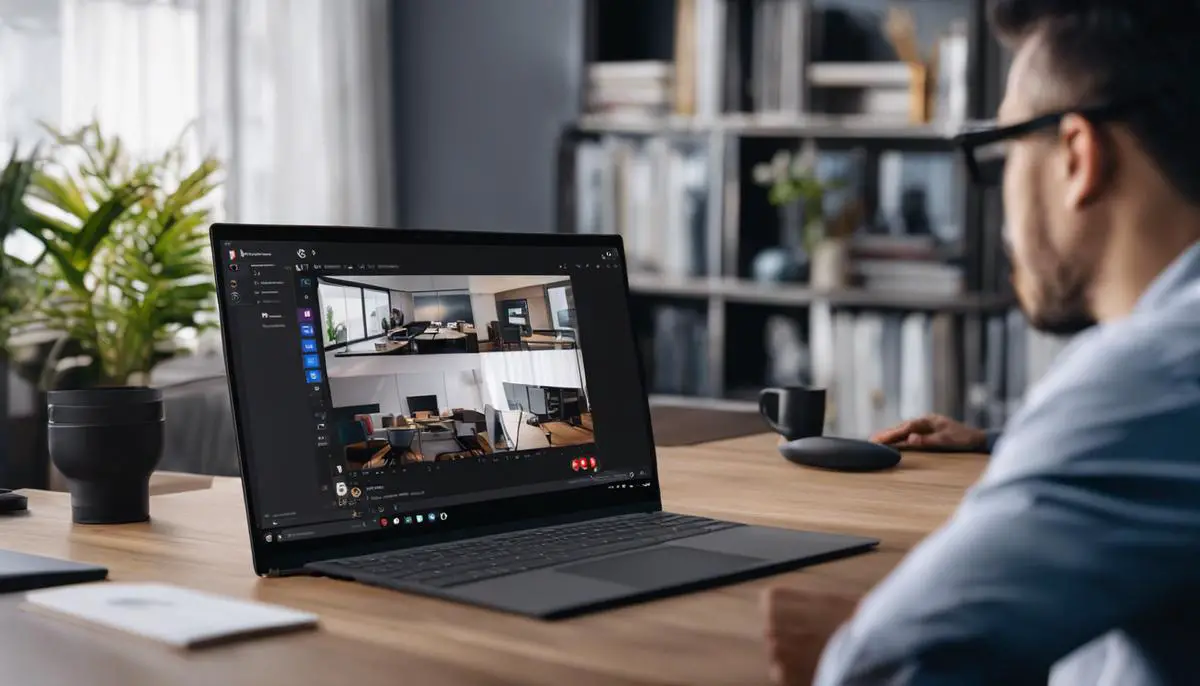
Underneath the ‘Devices’ menu, there is an option titled ‘Camera’. From the dropdown menu, select the preferred camera device. Teams will automatically detect any available cameras connected to the device.
Step 3: Checking Camera Preview
After selecting the desired camera, a preview will display what others will see during video calls. If the image appears blurry or dark, consider adjusting the physical location of the camera or altering the room’s lighting conditions.
Step 4: Applying Background Effects
Microsoft Teams offers users the ability to alter their video’s background. This feature is especially useful for those without a professional workspace. Click on ‘Background effects’, where Teams allows users to blur, add, or create custom backgrounds. It’s a creative yet practical way to uphold professionalism in virtual meetings.
Step 5: Saving Settings
All changes to the settings will automatically apply. However, remember to check these settings before every call to ensure the camera and background effects are as desired, as Teams might revert to default settings, or switch cameras if another gets connected to your device.
By following these five simple steps, Microsoft Teams users can readily adjust their camera settings to enhance their video conferencing experience. As technology enthusiasts, let’s embrace these features to foster more effective communication and collaboration in the digital workplace. After all, technology is all about streamlining tasks and improving productivity, isn’t it?

Photo by timschmidbauer on Unsplash
Troubleshooting Camera Issues
Common Issues Affecting the Camera on Microsoft Teams
Ensuring smooth and clear video conferencing requires awareness of potential camera issues in Microsoft Teams. And no one likes surprises – especially in the middle of a critical presentation! So let’s delve into some common challenges faced by users during video calls, along with tips to resolve them.
- Firstly, Microsoft Teams might not be detecting your camera. This occurs when the camera is being used by another application, or if Teams doesn’t have access to it. Solving this is simple – close all other applications that might use the camera, then check and grant necessary permissions for Teams to access your camera under the ‘settings’ option in the operating system.
- Camera not working during Meetings is another common pitfall. This can happen when the wrong camera is selected in your device settings. Remember to select the correct option under the device settings to resolve this.
- Another issue could be poor video quality. A myriad of causes could be responsible, but the most common one is a weak or inconsistent internet connection. Using a wired connection instead of Wi-Fi, or moving closer to the Wi-Fi router may help. Also, make sure to disable HD video when bandwidth is limited to improve overall video quality.
- Camera intrusion or hijacking, while rare, is a potential issue that can occur if your computer becomes compromised. Keeping your software updated, using strong unique passwords, and employing a good-quality security suite can help mitigate such risks.
- Facing glare or flickering during video calls? This happens often due to incorrect lighting or screen refresh rate settings. Try adjusting your room’s light settings or consider investing in a good desk lamp.
- Finally, one aspect often overlooked is camera obstruction. Be it dust or a privacy shutter, anything blocking the camera lens can impact video quality. Ensure your camera is clean and unobstructed before initiating a meeting.
Dealing with technology is often a two-edged sword – it can either make your life significantly easier or be a source of endless frustration. Knowing the possible pitfalls and how to navigate them is crucial in ensuring a seamless video conferencing experience on Microsoft Teams. Armed with this knowledge, conquer your next video meeting with confidence and a winning virtual image.
Updating Microsoft Teams Application
The Nuanced Art of Solving Microsoft Teams Camera Issues with Updates
While the earlier section of our tutorial outlined how crucial camera adjustments can be for projecting a professional image during video meetings, there are lingering issues that might require an even more direct approach. In this next step, we forego beat-around-the-bush methods and turn to a more proactive solution – the power of updates.
Microsoft often dishes out updates to Teams to correct flaws, patch security vulnerabilities, and add new features or improvements. Routinely updating your app can resolve issues related to cameras not being recognized by the program, and it’s simpler than you might think:
- Step 1: Fire up the Microsoft Teams app. Click on your profile picture at the top right, then navigate to “Check for updates.”
- Step 2: If an update is available, the app will automatically start to download and install it. It is always wise to ensure you are connected to a stable internet connection during this process to prevent additional issues.
At times, camera problems may stem from your device settings. Hence, it’s crucial to verify that the correct camera is selected in your device settings:
- Step 1: Navigate to your device’s “Settings” and choose “System,” followed by “Sound.”
- Step 2: Under the “Input” section, use the drop-down menu to select the correct camera.
- Step 3: Restart your device and Microsoft Teams to ensure the new settings take effect.
Spotty internet connections may be the silent culprits behind poor video quality. You may employ tactics such as disabling HD video to manage bandwidth consumption, which can considerably boost video quality in bandwidth-starved situations:
- Step 1: Open a video call and proceed to the “More actions” (…) menu.
- Step 2: Choose “Device settings,” followed by “High-definition (HD).”
- Step 3: Flip the toggle to “Off.” This would result in lower bandwidth use and, often, enhanced video quality.
Aside from glitches, a more sinister issue – camera intrusion or hijacking – is an increasing concern. One way to combat this threat is keeping your software up to date, reducing potential vulnerabilities that could be used for unauthorized access.
At other times, sub-optimal lighting or screen refresh rate settings can create distracting flickering or glare. Always remember to position your camera away from direct light sources, and ensure your screen refresh rate aligns with your camera’s frame rate: 60Hz for a 60fps camera, 50Hz for a 50fps camera, and so on.
Last but not least, physical obstructions such as dust or privacy shutters can impact camera performance. A quick wipe with a soft cloth or ensuring your privacy shutter is fully open can resolve such issues.
In essence, a proactive approach that includes regular updates and attention-to-detail can mitigate and resolve most Microsoft Teams camera issues. So why accept less than an optimal video conferencing experience? Stay ahead of issues with the latest tech-savvy knowledge.
In today’s digital-centric workspace, being technologically adept is a must. Understanding how to navigate and troubleshoot camera issues in critical tools like Microsoft teams only serves to increase productivity and decreases technical hiccups. Once you’ve mastered the knowledge contained in this paper, which includes understanding camera settings, troubleshooting inherent issues, and updating your app, you’ll be better equipped to deal with any technical issues that may arise during your virtual meetings. So take this all in, harness it, and let it empower you in your digital workspace.