
Setting an Out of Office in Teams
Today, the digital workplace is more bustling than ever, making clear communication essential. Whether you’re stepping away for a short break or an extended leave, setting an out-of-office message in Microsoft Teams ensures your colleagues are informed of your unavailability. It’s a simple yet effective way to manage expectations and maintain workflow. From accessing Teams settings to syncing your status with Outlook, this guide will walk you through the process step-by-step. So, let’s dive into how you can set up your out-of-office message seamlessly in Teams and ensure it’s reflected in Outlook, keeping your professional communications polished and up-to-date.
Accessing Teams Settings
Setting Up Your Out-of-Office in Microsoft Teams
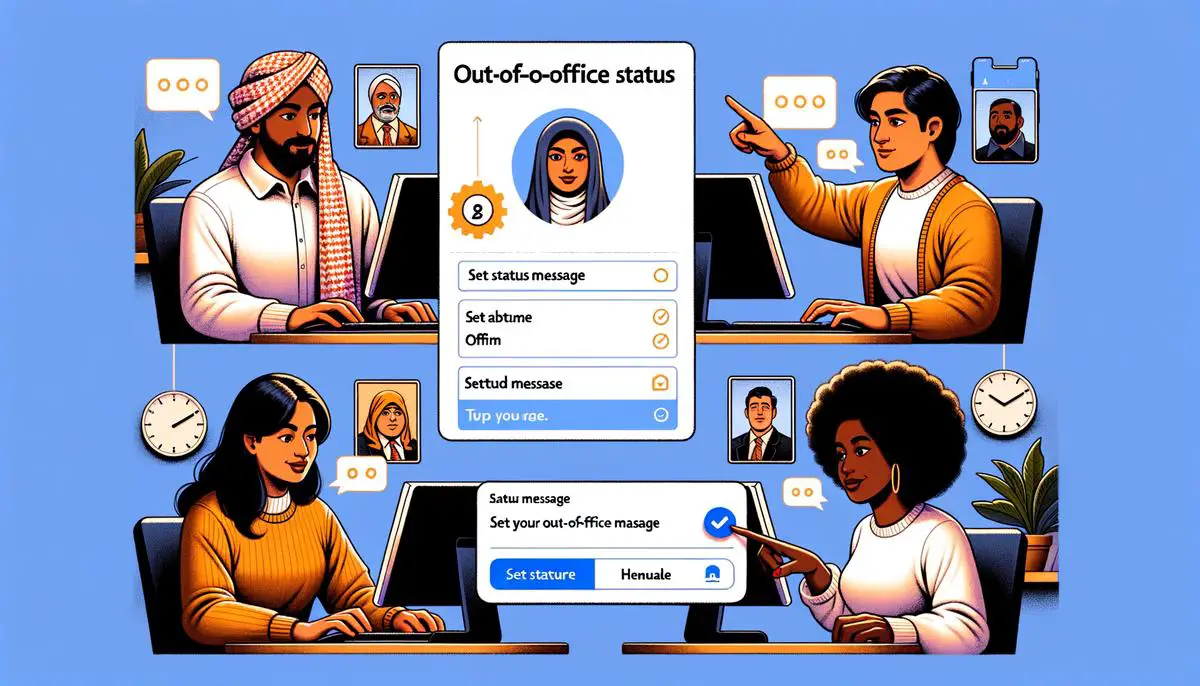
When you’re stepping away from work, letting your team know you’re not available is essential. Microsoft Teams allows you to set up an out-of-office status to automate this communication. Here’s how to navigate to Teams settings and set up your out-of-office status.
Step 1: Launch Microsoft Teams. Make sure you’re on the latest version of the app for the best experience. Step 2: Click on your profile picture located at the top right corner of the Teams window. This action opens a drop-down menu with several options. Step 3: Select “Settings” from the menu. A new window titled “Settings” will appear, giving you various customization options for Teams. Step 4: In the “Settings” window, look for the “General” tab on the left-hand sidebar. Click it to view general settings for your Teams application. Step 5: Scroll down to find the “Out of Office” section. Here, you will see an option to set up your out-of-office status. Step 6: Click on “Schedule” next to “Out of Office”. This will open a new window where you can customize your away message and specify the duration of your absence. Step 7: Enter the message you wish your colleagues to see when they try to contact you. This could be a simple note indicating you’re out of the office or more detailed information about your return. Step 8: Set the start and end dates for your out-of-office status. Ensure these dates accurately reflect when you’ll be away from work. Step 9: If you want your out-of-office status to sync with your Outlook calendar, ensure the option “Send replies outside my organization” is selected. This will automatically inform even those outside your organization attempting to contact you. Step 10: Once you’ve entered your message and selected your dates, click “Save”. Your out-of-office status is now set in Microsoft Teams.By following these simple steps, you can easily communicate your availability to your team and contacts within Microsoft Teams, ensuring a smoother workflow even in your absence.
Setting Out of Office Message in Teams
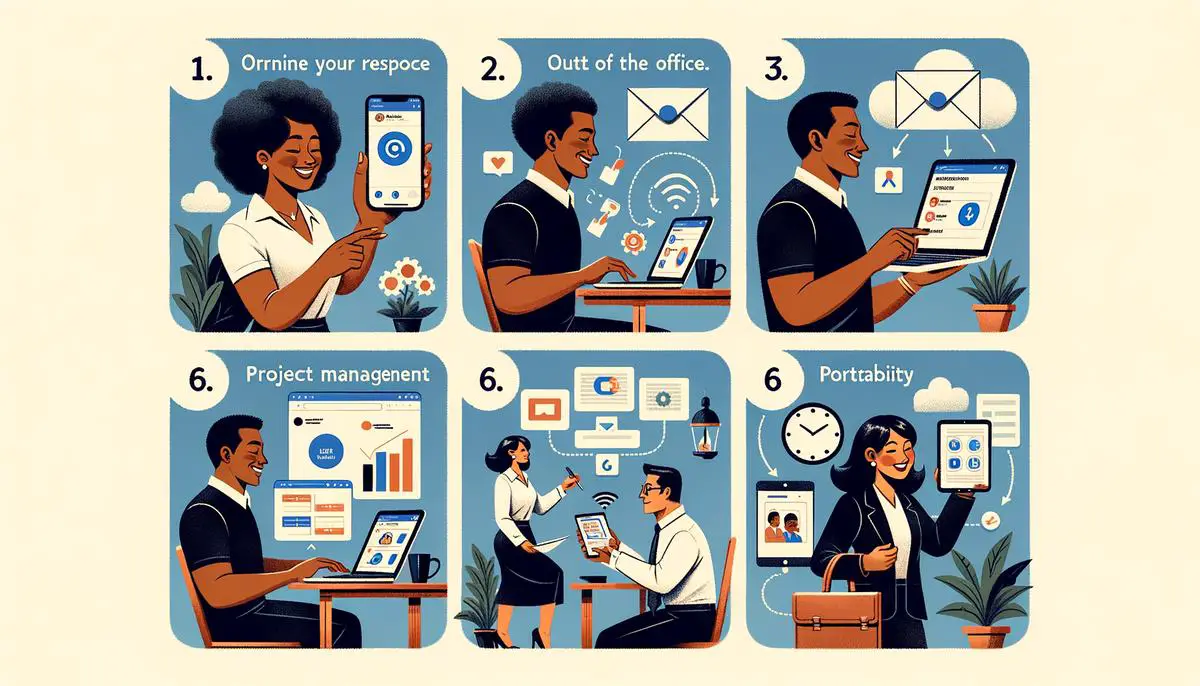
After you’ve effectively saved your out-of-office status, a few additional steps can streamline your absence, ensuring smooth communication with your team and contacts.
**1. Review and Adjust Notification Settings:
**Once your out-of-office message is all set, consider adjusting your Teams notification settings. This ensures that you’re only alerted of the most critical messages while you’re away. In Teams, navigate to your profile picture, click on ‘Settings,’ and then select ‘Notifications.’ You can customize how you receive notifications, such as turning off non-essential alerts while retaining the crucial ones.
**2. Inform Close Contacts and Team Leads Personally:
**While the out-of-office message will automatically inform anyone who messages you, it’s a considerate gesture to personally tell colleagues, especially those you work closely with or team leaders, about your absence ahead of time. This can be done through a quick message or email, advising them on who to contact for urgent issues in your stead.
**3. Set Up Delegation If Necessary:
**If your role entails tasks that cannot be postponed until your return, setting up delegation within Teams can ensure work continuity. To do this, visit ‘Settings,’ then ‘General,’ and select ‘Privacy.’ Here, you can specify a delegate who can receive calls or manage certain tasks on your behalf. Ensure the chosen delegate is briefed and prepared for any responsibilities they might need to handle.
**4. Double-Check Your Away Message and Duration:
**It’s a good practice to review your out-of-office message and the specified duration the day before you leave. This is to ensure that all information is accurate and that the dates of your absence are correctly entered. A quick check can prevent any confusion or miscommunication during your time away.
**5. Enable Quiet Hours/Days in Teams Mobile:
**If you plan on keeping Teams installed on your mobile device during your absence, consider using the ‘Quiet hours’ and ‘Quiet days’ features to silence notifications. Access these settings directly from the Teams mobile app under ‘Notifications.’ This prevents work from intruding into your personal time, especially during vacations or breaks.
By following these steps, you not only communicate your absence effectively but also manage expectations and maintain productivity within your team. Remember, the key to a successful out-of-office experience is in the preparation and ensuring everyone involved has the necessary information to proceed without hitches during your time away.
Syncing with Outlook
To ensure your Teams and Outlook out-of-office messages are fully synced, follow these detailed steps:
Confirm Outlook Integration
- Verify Outlook Integration: Ensure that your Microsoft Teams is properly integrated with your Outlook account. This is crucial for syncing your out-of-office messages across both platforms. Typically, if you use the same Microsoft account for Teams and Outlook, integration should be seamless.
Utilize Outlook for Setting Out-of-Office
- Prefer Setting Out-of-Office in Outlook First: Initiate your out-of-office setup in Outlook. This method is recommended because Outlook automatically syncs the status across to Teams, ensuring consistency across both platforms without extra steps.
- Open Outlook.
- Navigate to “File” > “Automatic Replies (Out of Office)”.
- Select “Send automatic replies” and specify your away message and duration. Remember, the information you enter here will mirror in Teams, enhancing clarity across your communication platforms.
Check Sync Status in Teams
- Verify Sync in Teams: After setting up your out-of-office in Outlook, open Microsoft Teams to confirm the status has been updated.
- Click on your profile icon.
- Your status should reflect the out-of-office message set in Outlook. If it doesn’t, manually update your Teams status by revisiting the “Out of Office” section under General settings, as previously discussed.
Troubleshooting
- Troubleshooting Tips: If the sync between Outlook and Teams does not occur as expected, consider:
- Signing out and signing back into both applications. This can help refresh your status across both platforms.
- Checking for any updates for Teams and Outlook, ensuring you are using the latest versions of the applications.
- If issues persist, consult your IT department or Microsoft’s support forums for guidance specific to your account configuration.
Final Considerations
By taking these steps, you can ensure that your out-of-office messages are consistent across both Microsoft Teams and Outlook, providing clear communication to your colleagues about your availability. Adjust any further settings as needed, keeping in mind the importance of transparent communication in a professional environment. Remember, managing your out-of-office messages effectively helps maintain workflow and respect among team members during your absence.
Mastering the setup of an out-of-office message in Microsoft Teams, coupled with ensuring consistency across platforms like Outlook, is more than just an administrative task—it’s an essential component of professional communication. As you follow the steps provided, remember the importance of clear, concise instructions for those trying to reach you. With this knowledge, you can enjoy your time away from the office, assured that your colleagues are well-informed of your absence and know when to expect your return. Embrace the efficiency of digital tools and pave the way for smoother transitions in and out of the office.