Install Windows on USB Drive Guide
Installing an operating system can seem daunting, but with the advent of bootable USB drives, the process has become far more accessible for the general public. Whether you’re looking to install Windows for the first time, setting up a secondary machine, or need a portable operating system solution, creating your own bootable USB is a valuable skill. This essential guide provides a step-by-step approach to downloading the correct Windows ISO file, preparing a bootable USB drive using tools like Rufus or the Windows USB/DVD Download Tool, and configuring your BIOS or UEFI settings to successfully boot from the USB. Through this process, you’ll gain the knowledge and confidence to take control of your computing needs.
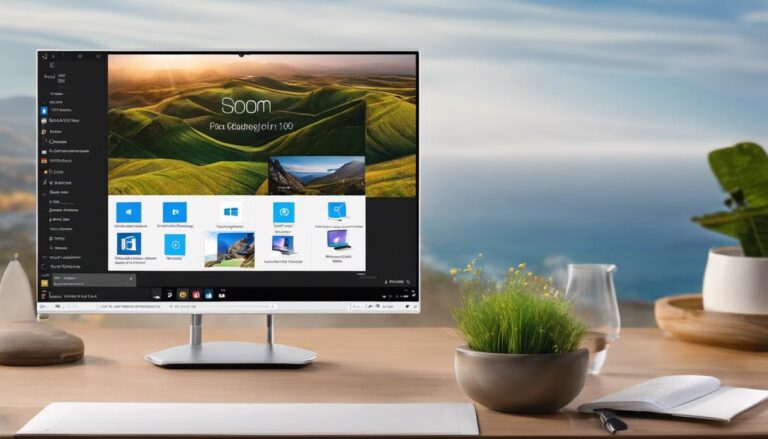
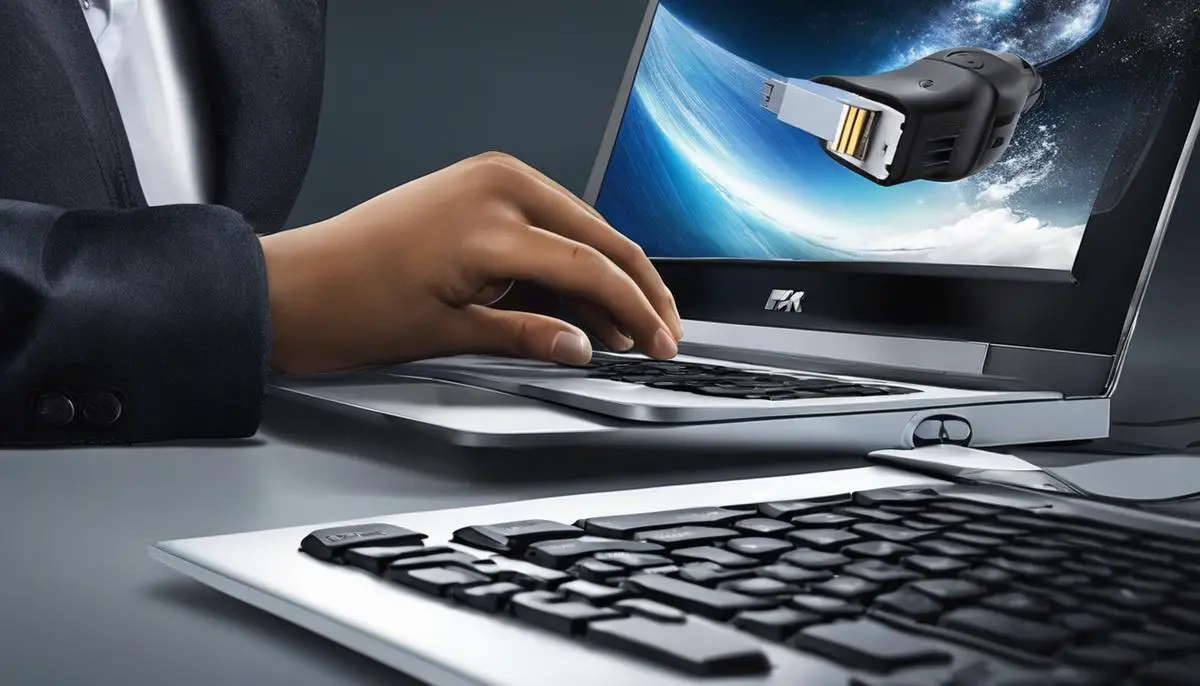
Creating a Bootable USB
Creating a Bootable Windows USB: A No-Nonsense Guide for Tech Enthusiasts
With the dawn of high-speed USB drives and the ever-decreasing use of optical media, creating a bootable Windows USB has become an indispensable skill for tech enthusiasts and professionals alike. Whether you’re setting up a new rig, resurrecting an old system, or just prefer the speed and convenience that USB installation offers, this guide will walk you through the process with the precision and efficiency that your tech-inclined heart desires.
Before you embark on this journey of digital creation, make sure you have everything on the checklist:
- A USB drive with at least 8GB of storage.
- A valid Windows ISO file.
- Access to a working computer.
Once you’ve gathered your resources, it’s time to weave some technological magic.
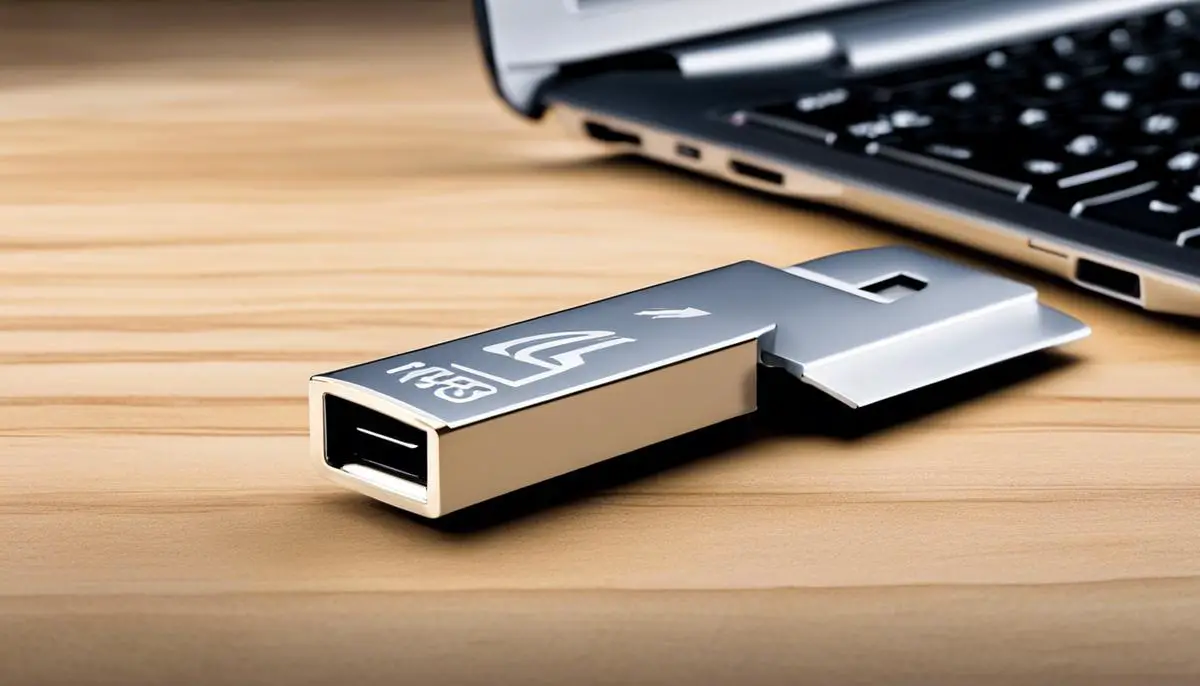
Step 1: Prepare the USB Drive
Insert your USB drive into the computer. Backup all the data from it because this process will erase everything on the drive.
Step 2: Download Rufus
Rufus is a free, open-source software that allows you to create bootable USB drives with ease. It’s lightweight, straightforward, and doesn’t need an installation. Simply download the latest version from the official Rufus website.
Step 3: Run Rufus
Launch Rufus and the interface will display all connected drives. Be absolutely sure to select your USB drive from the drop-down menu to avoid any cataclysms involving the wrong drive.
Step 4: Select the ISO
Click the “SELECT” button and navigate to where you’ve stored the Windows ISO file. Choose the right one and open it. Rufus will then update its settings to match the requirements of the ISO – a truly smart piece of software.
Step 5: Configure Rufus Settings
While Rufus intelligently adjusts most settings, ensure the ‘Partition scheme’ is set to ‘GPT’ if you’re installing on a newer system with UEFI, or ‘MBR’ for older systems. ‘File system’ should typically be set to ‘NTFS,’ and ‘Cluster size’ can generally be left as-is.
Step 6: Start the Process
Named a ‘Start’ button for a reason, once you hit it, Rufus will warn that any data on the USB will be destroyed. If you’re already backed up and ready to go, confirm and watch as Rufus crafts your bootable drive with the meticulousness of a digital artisan.
Step 7: Exiting Rufus
Once the green bar fills and Rufus indicates ‘READY,’ you’re done. Close Rufus. Your USB drive now houses a portable, bootable slice of Windows that you can use to breathe life into any compatible machine.
Step 8: Boot from the USB Drive
Plug the USB into the target machine, boot it up, and hit the proper key to bring up the boot menu (usually F12, Escape, or something similar – it varies by manufacturer). Select your USB drive from the list, and proceed with the on-screen instructions to install Windows.
Clear, efficient, and effective – that’s how technology should be wielded. With this potent USB drive in your arsenal, you’re now ready to deploy Windows with the speed and portability that only a USB flash drive can offer. Happy installing.
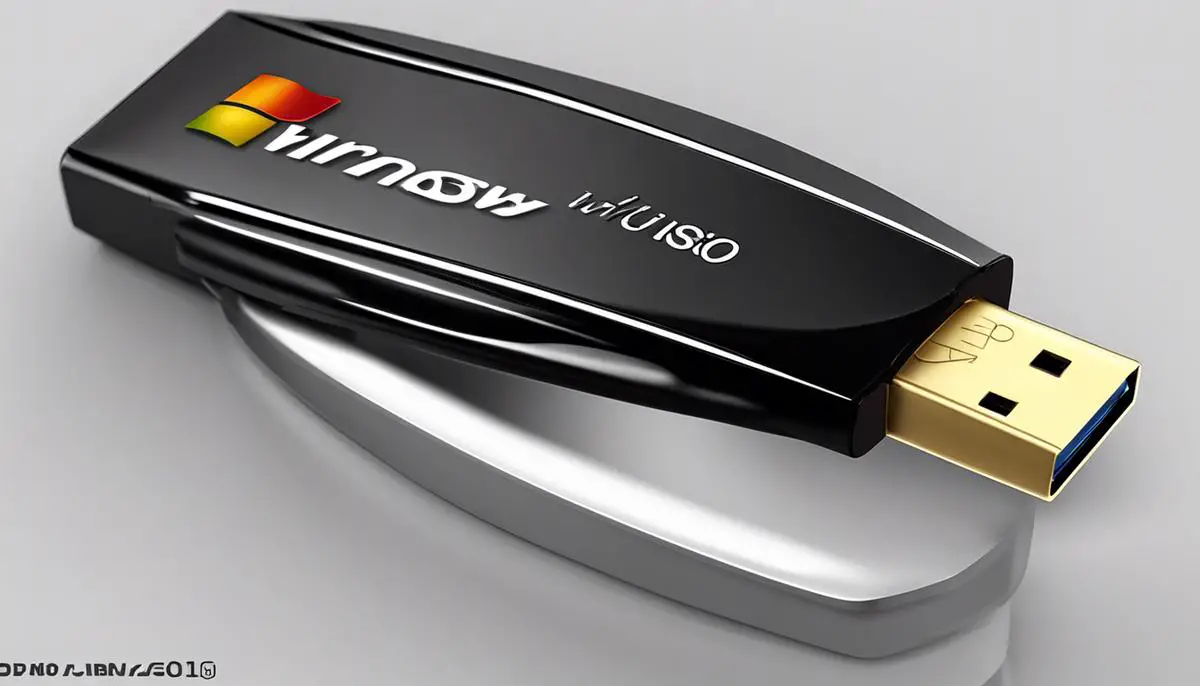
Downloading Windows ISO
When it comes to legally sourcing a Windows ISO file, Microsoft offers straightforward options. Stay sharp; here’s how you get your hands on a genuine copy without straying into dubious territory.
Head over to the official Microsoft website. Notably, the software giant provides direct downloads for those looking to reinstall or update their operating system. Dealing exclusively in legit downloads means staying clear of any legal issues. Maintenance of system integrity starts with an authorized copy of the OS. Let’s delve into the specifics:
Navigate to the Microsoft Download Windows page.
Microsoft caters to users seeking legit Windows 10 and 11 ISO files. Once there, the process is pretty intuitive:
For a Windows 10 ISO:- Scroll to ‘Create Windows 10 installation media’ section and click ‘Download tool now’.
- Run the Media Creation Tool you’ve just downloaded.
- Accept the license terms offered up by Microsoft.
- Choose ‘Create installation media for another PC’. Click Next.
- Select language, edition, and architecture. Keep a keen eye; match these to your license or planned usage.
- On the ‘Choose which media to use’ page, select ‘ISO file’. Follow through with the Next button, and choose a download location.
- Under ‘Download Windows 11 Disk Image (ISO)’, click ‘Download’.
- Select the product language. Confirm it. You want your daily digital experience to be in a language you fluently speak.
- Hit the ‘Download’ button, and a 64-bit Download link appears. Gorgeous! Click that link – Your download initiates.
You could also use the Windows 11 Installation Assistant if your current system is eligible for an upgrade. But that’s a path diverged for users keen on an update, not a clean install.
Use this authentic source to avoid the pitfalls of compromised systems and illegitimate software. Direct from Microsoft, it’s safer, smoother, and smarter. Keep software genuine, systems secure, and tech tendencies satisfied. This is the sanctioned road to obtaining that Windows ISO file for all the aforementioned bootable USB adventures.

Changing Boot Order
Booting from a USB Drive: A Critical Tech Skill
Tech enthusiasts and professionals alike understand the importance of being able to boot a computer from a USB drive; whether for troubleshooting, installing an OS, or running a live version of a system. If you’ve already crafted your bootable Windows USB, it’s time to put it to use. Here’s the no-frills, straightforward guide to booting from that USB drive.
First things first – confirm the BIOS key for your computer. This will vary depending on the manufacturer and can usually be found in the user manual or with a quick online search. Common keys include F2, F10, F12, ESC, or DEL.
Next, go through the essential step of backing up any important data on the target machine. Booting from a USB drive often leads to installing or repairing an OS, which can potentially wipe data.
Now, shut down the computer where the bootable USB will be used. Once completely powered off, turn the system back on and immediately press the BIOS key repeatedly until you enter the BIOS or UEFI settings menu.
Within the settings menu, navigate with arrow keys to the ‘Boot’ tab or similar section. We’re solving tech problems not getting caught up in details, so look for functionality, not perfect nomenclature.
Change the boot order by finding the ‘Boot Device Priority’ or ‘Boot Order’ setting. You will want to select the USB drive as the first boot device. This may involve using the ‘+’ or ‘-’ keys, or sometimes dragging the device to the top of a list.
After setting the USB drive as the primary boot device, it’s crucial to save the changes. Look for a ‘Save and Exit’ option, often accessed by pressing the F10 key. Confirm any prompts to save the settings.
Your computer should now restart. Watch closely as it should prompt ‘Press any key to boot from USB.’ Don’t hesitate – press any key immediately to start booting from the USB drive.
Details matter here. If the system doesn’t boot from the USB drive, power off and revisit the BIOS settings. Ensure the boot order is correctly configured, and make sure the USB drive is functioning and correctly prepared as a bootable device.
Once you succeed, the system will boot from the USB drive, and you’re ready to proceed with the intended task—installation, system recovery, diagnostics, or whatever tech task is at hand.
Remember, mastering the ability to boot from a USB drive isn’t just about ticking another box in tech skills; it’s about embracing the efficiency and versatility that modern tech provides. This skill alone can save hours and protect valuable data, ensuring a lean, problem-solving approach to tech.
Mastering the creation of a bootable USB drive for Windows installation represents an essential skill in today’s digital world, empowering users with greater control over their own technology. By following the steps outlined in this guide, not only have you equipped yourself with the knowledge to download the necessary Windows ISO file and create your own installation USB, but you’ve also learned how to configure your system’s BIOS or UEFI to boot from it. This newfound capability ensures that you can tackle the task of installing or reinstalling Windows with assurance, keeping you equipped for any situation that requires a fresh installation of your operating system.